Thursday, January 31, 2013

I cut a filler patch to close up the top tube socket on the head tube lug and I'll do the same on the seat tube lug. They will be brazed in, then flush filed.  The mixtes head tube is 105 mm and the total length of the head tube lugs is 150 mm.  Definitely some creative lug carving to make them fit.

Tuesday, January 29, 2013

 The fork kit has arrived for the mixte.  I'm going with a straight leg fork to work with the disc brake.  I want to complete the fork so I will know the exact axle to crown dim.  The dim. needs to be as short as possible so I can design the frame with the step through at a minimum.
The steerer tube/crown race fit was quite loose and required pinning.

Saturday, January 26, 2013

Here's some pics of the finished frame.  I'm still waiting for material for the mixte, but will start the lug modifications as soon as I get some of the repair work done.  Oh yeah, and finish the assembly on this one.


Wednesday, January 16, 2013

Color sanding with 1000 and 1500 grit paper and then power buffing with a light action compound.  I have also started on this mixte.  The lugs are Pacenti Artisans that I will remove the top tube sockets.  Should be fun, stay tuned.

Friday, January 11, 2013

I went ahead and did all the lug lining in red and I don't care for it.  If it doesn't grow on me after the build,  I might go over it with a black or blue sharpie to tone it down a bit.


Thursday, January 10, 2013

 All the color,excluding the lug lining, is on including one coat of clear epoxy.  I applied this last Saturday and it looks so good, I don't know if I want to apply the red lug lining.  I've been looking at it all week and can't decide.  We shall see tomorrow.


Thursday, January 3, 2013

 Ready for the Star Bright Metallic Silver.
 With out any contrasting colors, it looks pretty boring.  Once all the red and sky blue is visible, it will look quite elegant, I hope.


Alrighty, back on track.  The Porsche red is on for the highlights.  I know it is standard procedure to apply the coatings from light colors to dark.  This is to help "hiding" and less solvent when cleaning the spray equipment.  I am just too cheap to use two sets of maskants to apply my colors in that order and I use multiple color dedicated spray guns to reduce any color bleeding..
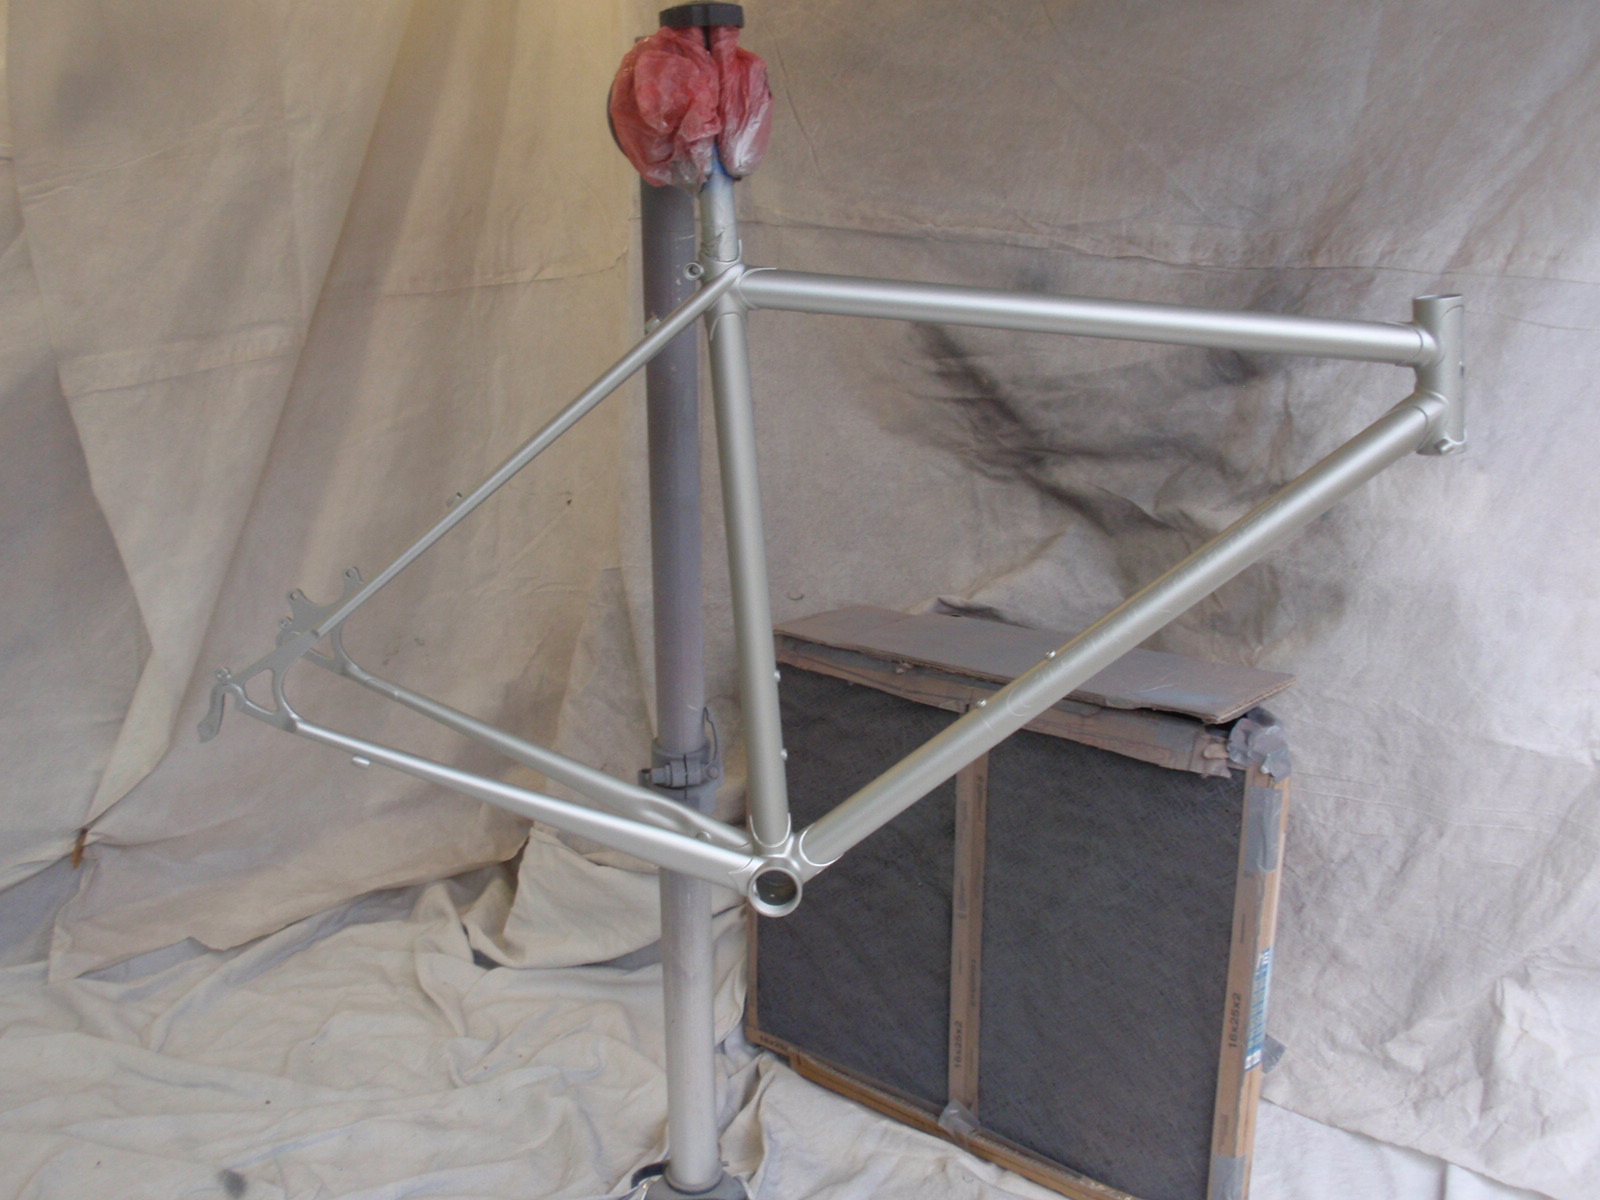
Here is where I stand today.   After the etch prime, I sought to apply the epoxy surfacer/sealer in mid 20 degree temps. So I warmed the frame, spray gun, and paint to try and compensate for the low air temp as the coating does not have a temperature correcting reducer like the base and top coats.  Obviously it was a foolhardy attempt.  The paint wouldn't hang and ran like crazy. I have spent the last 4-5 hours knocking back the runs, drips, and sags and am now ready to apply the red high lights.